Kia Soul (SK3): Automatic climate control system / Automatic heating and air conditioning
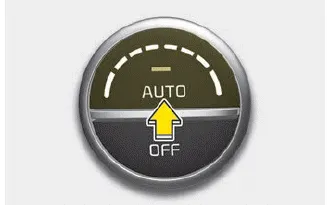
1. Push the AUTO button. The modes, fan speeds, air intake and air-conditioning will be controlled automatically according to the temperature setting.
2. Set the temperature control knob to set the desired temperature.
NOTICE
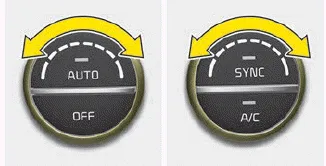
- To turn the automatic operation off, select any button or switch of the
following:
- Mode selection button
- Air conditioning button
- Front windshield defroster button (Press the button one more time to deselect the front windshield defroster function. The AUTO sign will illuminate on the information display once again.)
- Fan speed control knob
The selected function will be controlled manually while other functions operate automatically. - For your convenience and to improve the effectiveness of the climate control, use the AUTO button and set the temperature to 22°C (72°F).

NOTICE
Never place anything over the sensor located on the instrument panel to ensure better control of the heating and cooling system.
1. Driver`s temperature control knob 2. AUTO (automatic control) button 3. Front windshield defroster button 4. Rear window defroster button 5. Air conditioning button 6.
The heating and cooling system can be controlled manually by pushing buttons other than the AUTO button. In this case, the system works sequentially according to the order of buttons selected.
Other information:
Kia Soul (SK3) 2020-2025 Owners Manual: Jack label
❈ The actual Jack label in the vehicle may differ from the illustration. For more detailed specifications, refer to the label attached to the jack. 1. Model Name 2. Maximum allowable load 3. When using the jack, set your parking brake. 4. When using the jack, stop the engine.
Kia Soul (SK3) 2020-2025 Owners Manual: Towing
Towing service If emergency towing is necessary, we recommend having it done by an authorized Kia dealer or a commercial tow-truck service. Proper lifting and towing procedures are necessary to prevent damage to the vehicle. The use of wheel dollies (1) or flatbed is recommended.
Categories
- Manuals Home
- Kia Soul Owners Manual
- Battery replacement
- LCD display modes. User settings mode
- Headlamp and front fog lamp aiming
- New on site
- Most important about car
