Kia Soul (SK3): LCD display / LCD display modes. User settings mode
Trip computer mode
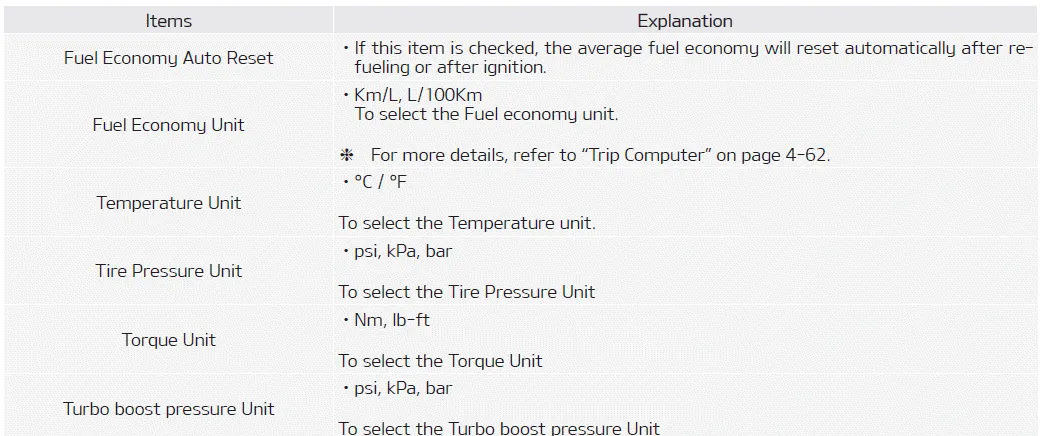
The trip computer mode displays information related to vehicle driving parameters including fuel economy, tripmeter information and vehicle speed.
❈ For more details, refer to “Trip Computer” on page 4-62.
Turn By Turn (TBT) mode
This mode displays the state of the navigation.
Assist mode
This mode displays the state of :
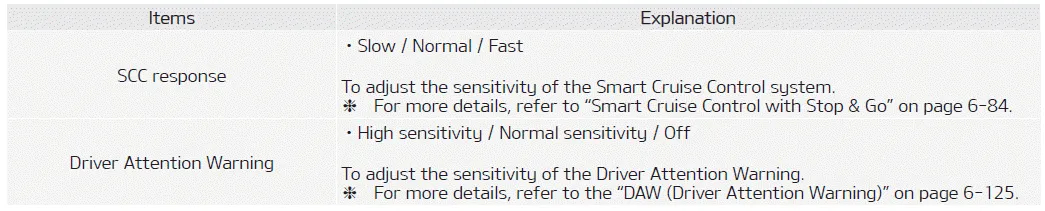
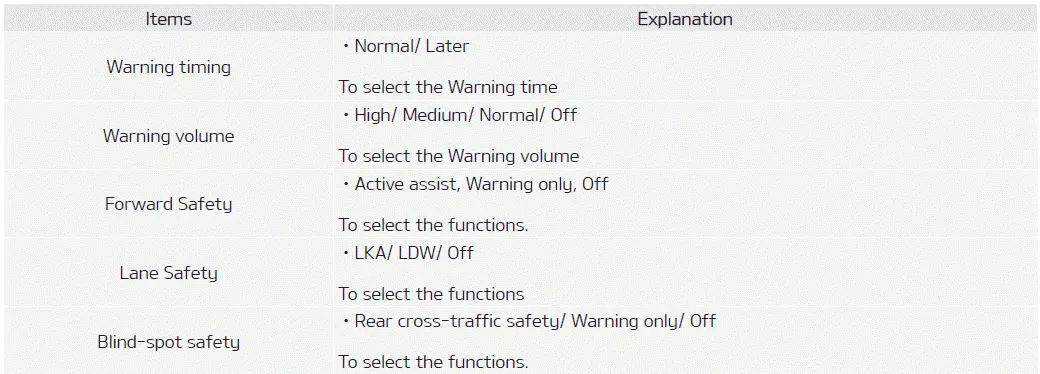
- Lane Safety system
- Driver Attention Warning (DAW)
- Smart Cruise Control with Stop & Go
- Tire pressure
Master warning mode
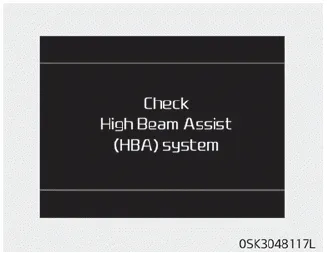
This warning light informs the driver the following situations.
- LED headlamp malfunction (if equipped)
- Forward Collision-Avoidance Assist system malfunction (if equipped)
- Forward Collision-Avoidance Assist radar blocked (if equipped)
- Blind-Spot Collision Warning system malfunction (if equipped)
- Blind-Spot Collision Warning radar blocked (if equipped)
- Smart Cruise Control with Stop & Go malfunction (if equipped)
- Smart Cruise Control with Stop & Go radar blocked (if equipped)
- Lamp malfunction
- High Beam Assist malfunction (if equipped)
At this time, a Master Warning icon ( )
will appear beside the User Settings icon (
)
will appear beside the User Settings icon ( ),
on the LCD display. If the warning situation is solved, the master warning light
will be turned off and the Master Warning icon will disappear.
),
on the LCD display. If the warning situation is solved, the master warning light
will be turned off and the Master Warning icon will disappear.
Transmission temperature gauge (for dual clutch transmission)

This mode displays the transmission temperature.
User settings mode
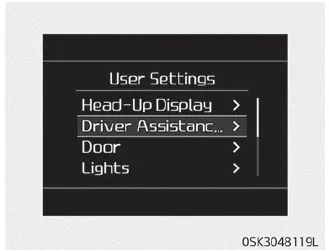
In this mode, you can change the settings of the instrument cluster, doors, lamps, etc.
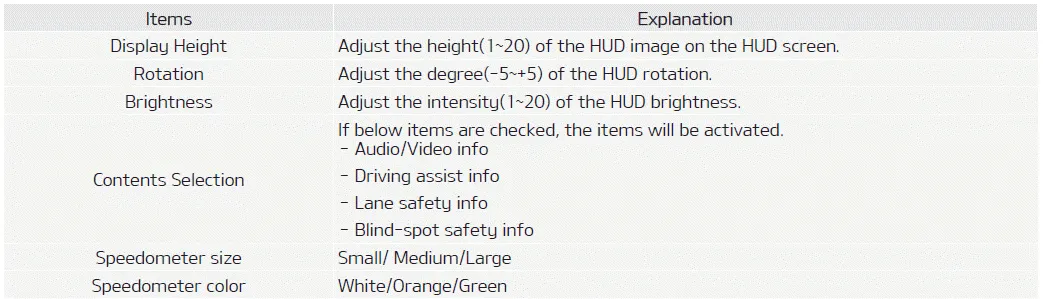
1. Head-up display
2. Driver Assistance
3. Door
4. Lights
5. Sound
6. Convenience
7. Service Interval
8. Other features
9. Reset
10. Language
The information provided may differ depending on which functions are applicable to your vehicle.
Shift to P to edit settings/Engage parking brake to edit settings
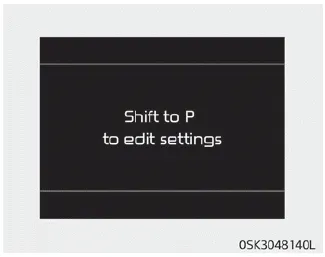
This warning message appears if you try to adjust the User Settings while driving.
- Automatic Transmission/Dual Clutch Transmission/Intelligent Variable Transmission
For your safety, change the User Settings after parking the vehicle, applying the parking brake and moving the shift lever to P (Park).
- Manual Transmission
For your safety, change the User Settings after engaging the parking brake.
1. Head-up display (if equipped)
2. Driver assistance
3. Door

4. Lights

5. Sound

6. Convenience

7. Service interval

If the service interval is activated and the time and distance is adjusted, messages are displayed in the following situations each time the vehicle is turned on.
- Service in: Displayed to inform the driver the remaining mileage and days to
service.
- Service required: Displayed when the mileage and days to service has been reached
or passed.
If any of the following conditions occur, the mileage and number of days to service may be incorrect.
- The battery cable is disconnected.
- The battery is discharged.
8. Other features
9. Reset

LCD Display Control The LCD display modes can be changed by using the control buttons. 1. : MODE button for changing modes 2. / : MOVE switch for changing items 3.
The trip computer is a microcomputercontrolled driver information system that displays information related to driving. NOTICE Some driving information stored in the trip computer resets if the battery is disconnected.
Other information:
Kia Soul (SK3) 2020-2025 Owners Manual: Changing tires
1. Park on a level surface and apply the parking brake firmly. 2. Move the shift lever into R (Reverse) with Manual Transmission or P (Park) with Automatic Transmission/ Dual Clutch Transmission/ Intelligent Variable Transmission. 3. Activate the hazard warning flasher.
Kia Soul (SK3) 2020-2025 Owners Manual: Tire rotation
To equalize tread wear, it is recommended that the tires be rotated every 10,000 km (6,500 miles) or 12 months. If irregular wear develops, more frequent tire rotation may be needed. During rotation, check the tires for correct balance. When rotating tires, check for uneven wear and damage.
Categories
- Manuals Home
- Kia Soul Owners Manual
- Mirrors. Outside rearview mirror. Folding the outside rearview mirror
- Maintenance
- Rear seat adjustment
- New on site
- Most important about car
